Data migration Nextcloud
This article describes all actions to move files from one instance to another. In this example, we want to move data from the server with the URL https://free01.thegood.cloud to the new server with the URL https://use02.thegood.cloud
Click Next again(default settings are fine)
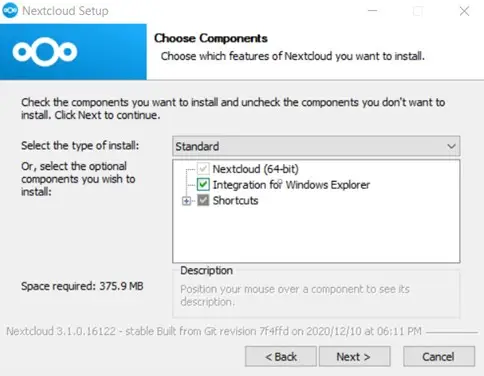
Click Install
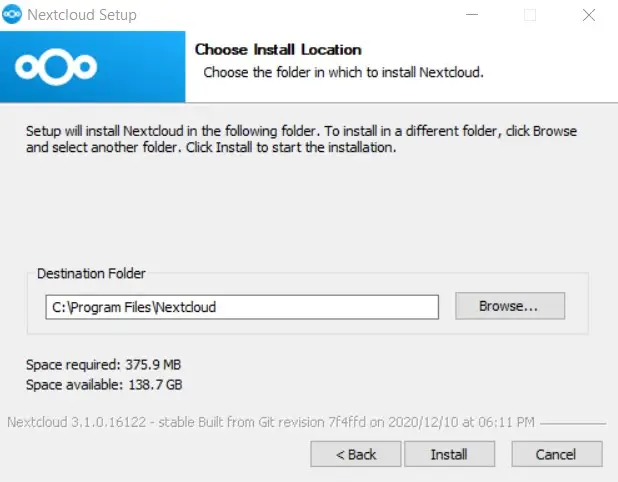
Click Finish to finalise the install.
A: Choose log in
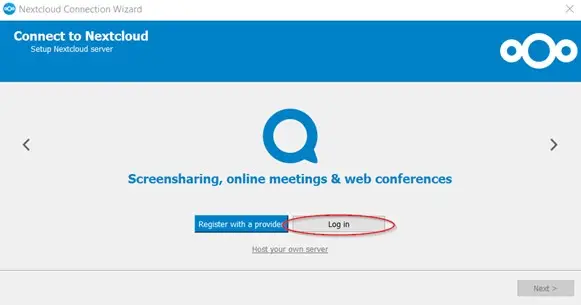
B: fill in the server URL of the files you want to move (e.g.: use10.thegood.cloud)
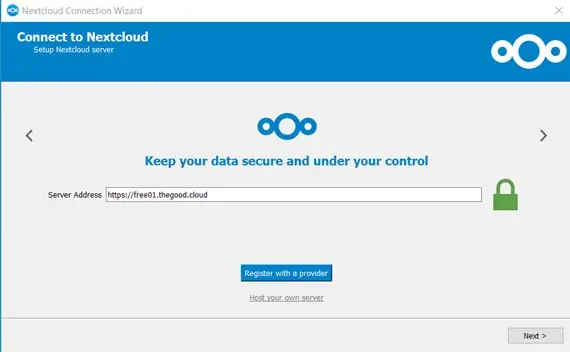
C: Click Next.
The webbrowser will open the logon screen. Click Log in and fill in your credentials for e.g. use10.thegood.cloud:
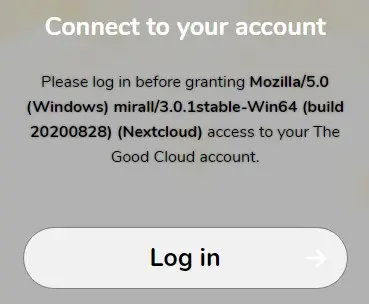
D: Click Grant Access
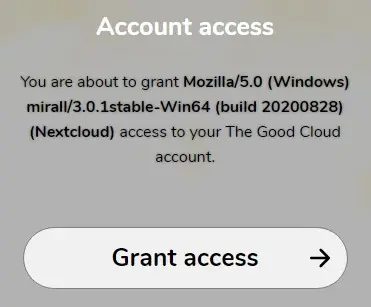
E: This message will apear:

F: Close the webbrowser. You’ll return to the installer.
In the next screen select “Synchronize everything from server” and make sure “Ask for confirmation before synchronising folders larger than 500MB” is unchecked. Click Connect
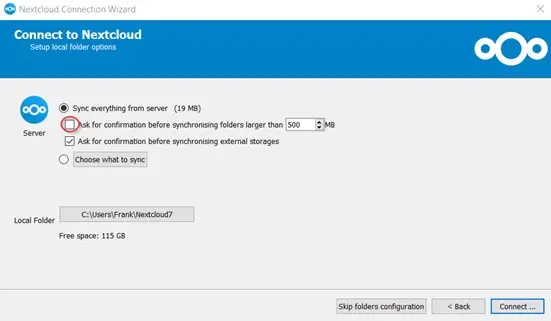
The desktop client will synchronise all data from the old server to the local laptop/PC. Depending on the amount of data this might take while.
Once synchronisation is completed the system tray in the bottom right corner of your screen will show the icon: ![]()
Adding your new account (e.g. use10.thegood.cloud)
To be able to move the data, you need both accounts connected to the desktop client. In the next steps we will connect the new account (e.g. use02.thegood.cloud).
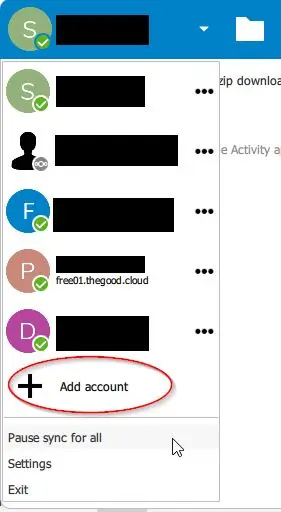
Right click the icon ![]() , choose “Open Main dialog” and click Add account.
, choose “Open Main dialog” and click Add account.
Perform the previous steps A to F
Choose log in and use the new server URL, in the example: use02.thegood.cloud.
Note: Use the new server URL in step B
Click Next. Webbrower opens, logon using the credentials of the newly created account and choose Grant Access.
Uncheck “Ask for confirmation before synchronising folders larger than 500MB”. Click Connect. The data is synchronised to the local laptop/pc.
Once this is finished, open the file explorer:
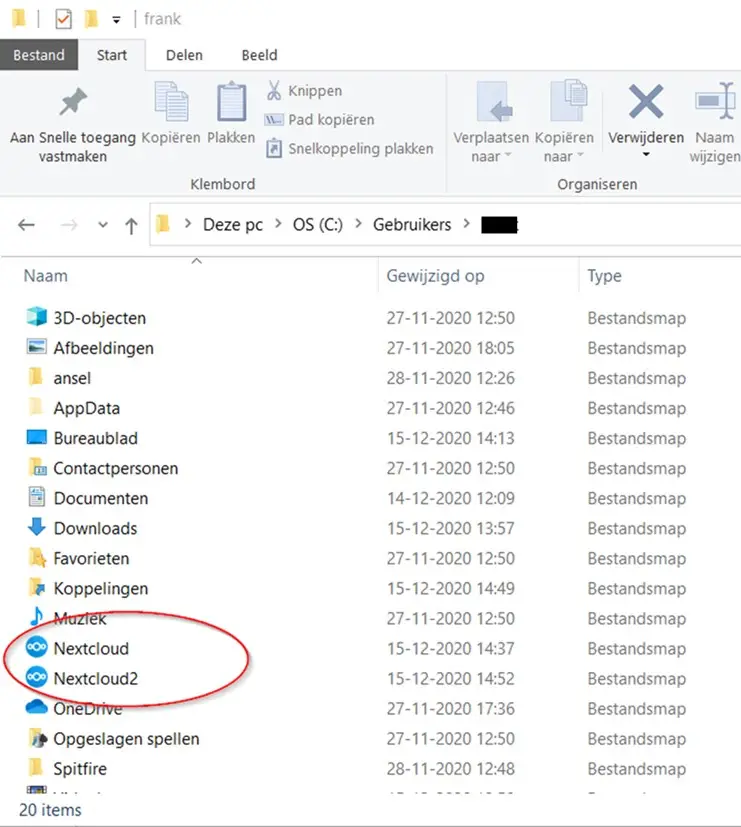
Select all data from the folder Nextcloud (use10.thegood.cloud). Copy the data. Next, go to the folder Nextcloud 2 (use02.thegood.cloud) and paste the data. The desktop client will synchronise the data to the new instance.
Once this is finished, you can check whether your data is complete by logging on to your new instance via the web browser.
If you no longer wish to use the desktop client and want your files only stored in the cloud, you can remove the desktop client after finishing the data migration. (Start>Settings>Apps) and remove the folders Nextcloud and Nextcloud 2 via the file explorer.
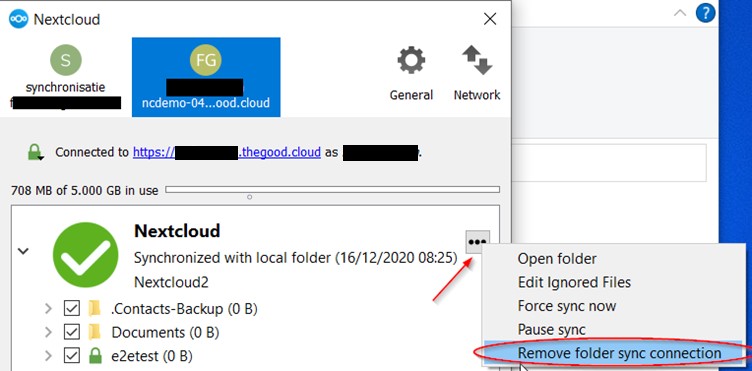
If you do wish to keep using the desktop client solely for the new instance after moving the data, you can open the Desktop client (right click the icon in the system tray, choose Settings). Select the old instance and choose Remove folder sync connection. Please note that if this is case, you need to delete the folder “Nextcloud” (if using the default settings in the installer) in the file explorer by hand, otherwise your “old” data will reside on your local PC/laptop as well.